
REID SMILEY | March 2021
If you’ve ever looked closely at photos of American troops on D-Day or watched Saving Private Ryan, you might have noticed soldiers carrying large black rubberized bags attached to the chests. These were the M7 Rubberized Assault Gas Mask Bag and contained the accessories a soldier would need to protect themself from a German gas attack. I’ve already written about the gas proof “CC2” uniforms provided to American troops landing on the beaches of Normandy, but, after a few students had asked me about how the US Army prepared for the possibility of gas warfare, I decided to fill the M7 Assault Bag with the proper contents.

Previously, I had simply tried to create the look of a full bag by using an old Israeli gas mask I had picked up in high school.
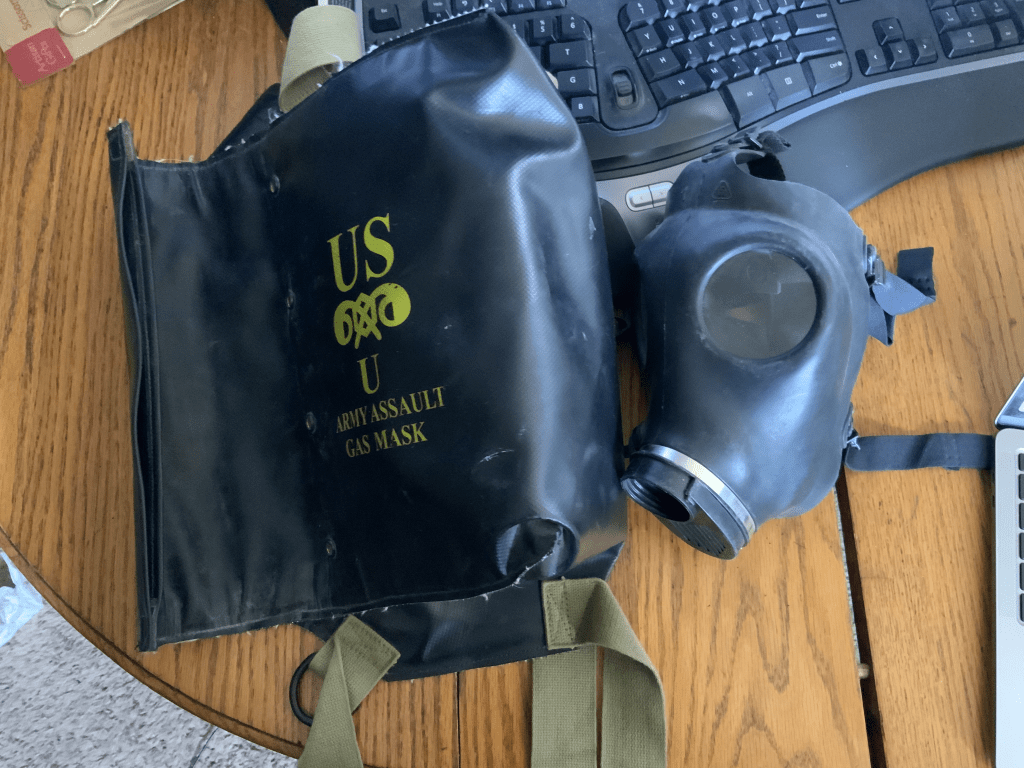
Based on my previous research, I knew that this bag would have contained the E6-3-7 Army Assault Mask (often called the M5 by reenactors) , but these are often sold for hundreds of dollars and I didn’t want to spend that sort of money on this.

A few other reenactors had suggested converting a Serbian M1 Gas Mask, which is essentially a clone of the later US M9 Gas Mask. While all the parts are virtually identical, the US gas masks came in black rubber instead of grey rubber.
Conversion items needed:
- Serbian Gas Mask with Filter
- Outlet valve from WWII-era civilian gas mask
- Black paint that will adhere to rubber
- Rubber cement and friction tape
Steps

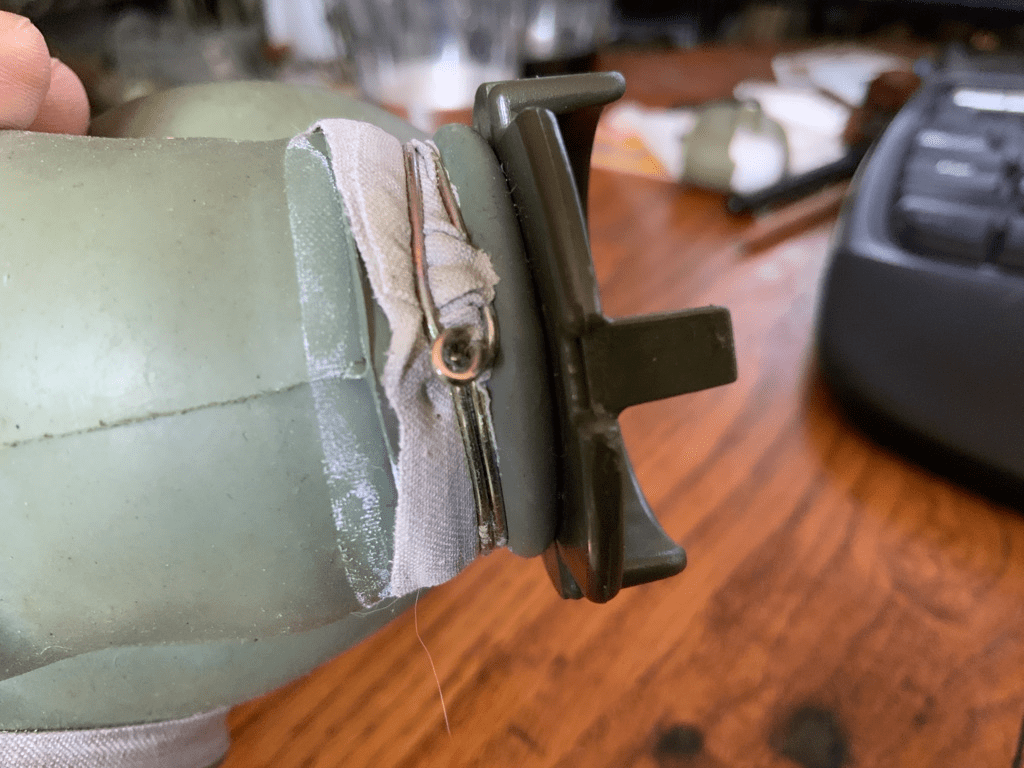
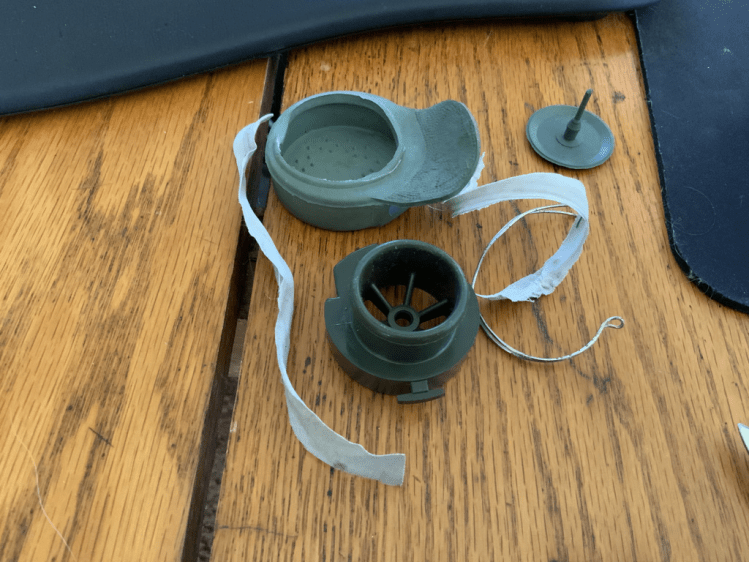
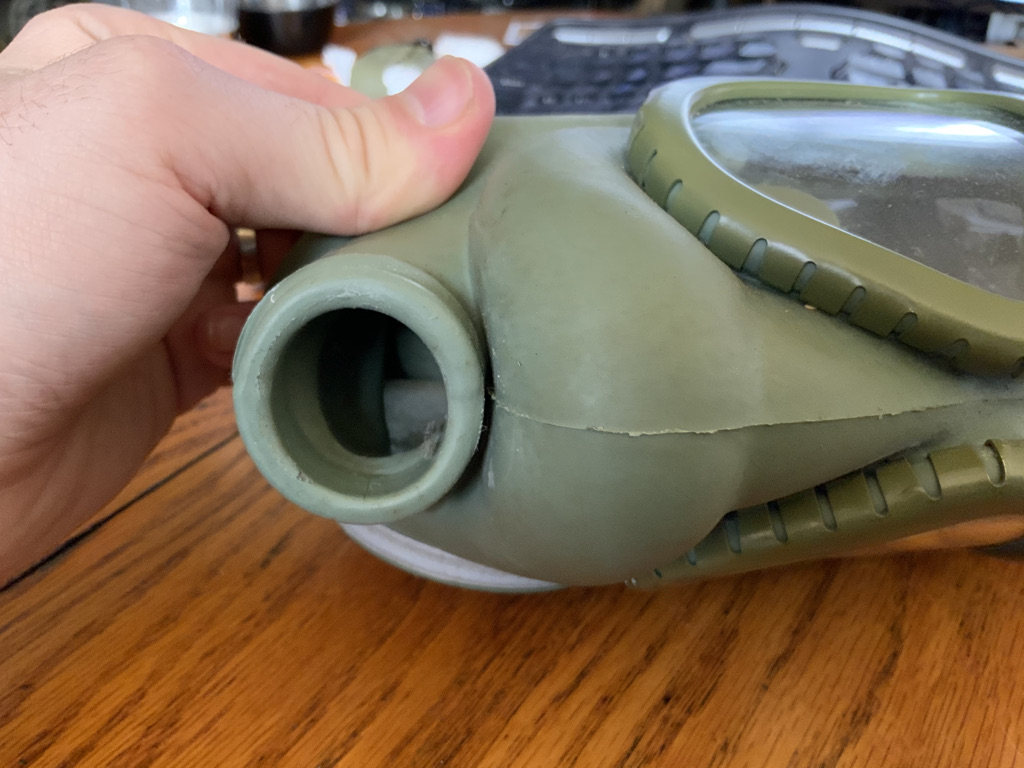
- Remove the Outlet filter
The Serbian mask had a rubber cover for the outlet valve which was held on by tape and wire. I carefully removed the rubber cover and used a pocket knife to carefully unhook the wire.
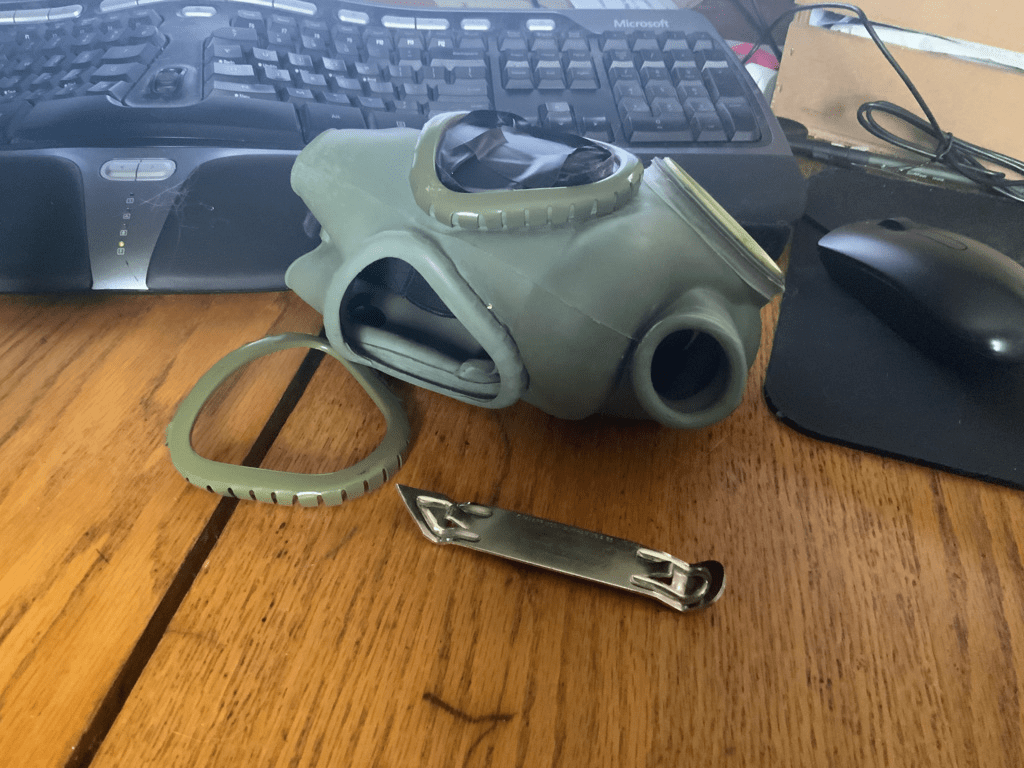
To prepare for painting, I wanted to remove the eyepieces. I used an old-school can opener to slightly pry open the metal prongs surrounding the glass eyepieces which allowed me to easily pull both off.
I opened my Forever Black Bumper & Trim kit (I chose this kit as it contained both a cleaning solution and paint designed for rubber). Following the instructions on the box, I cleaned the mask and let it dry.

Once dry, I applied a coat of reconditioner and let it set.
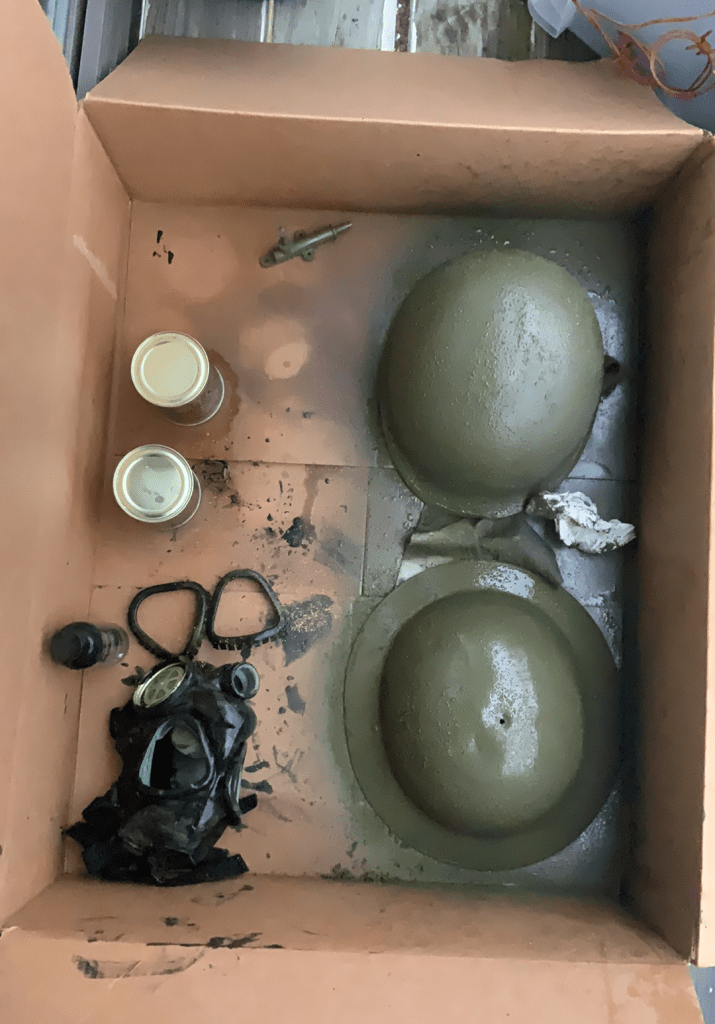
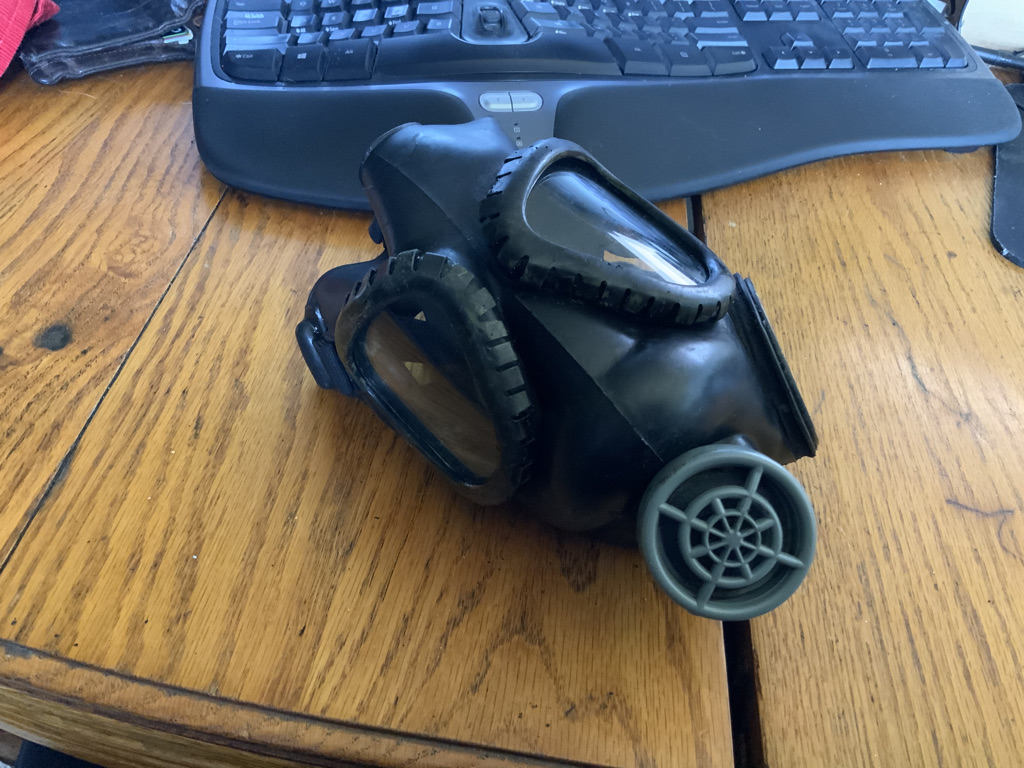
I ended up applying 3-4 layers of paint to the mask and had to use some model paint for the metal eyepieces.
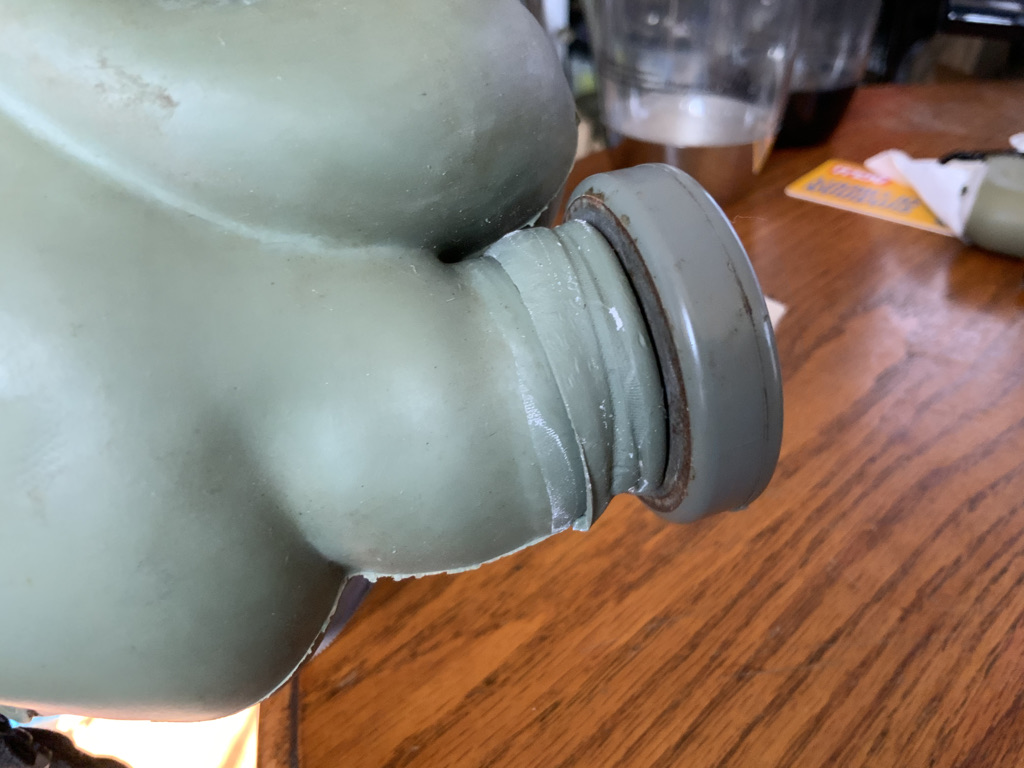
Once I was satisfied by how it looked and it was dry, I was able to add the eyepieces back on. I put some rubber cement on the ring of the WWII outlet valve, put it in the appropriate hole, and wrapped it with black friction tape.

To wrap up the mask, I spray painted the olive drab Serbian filter grey like the original American masks.
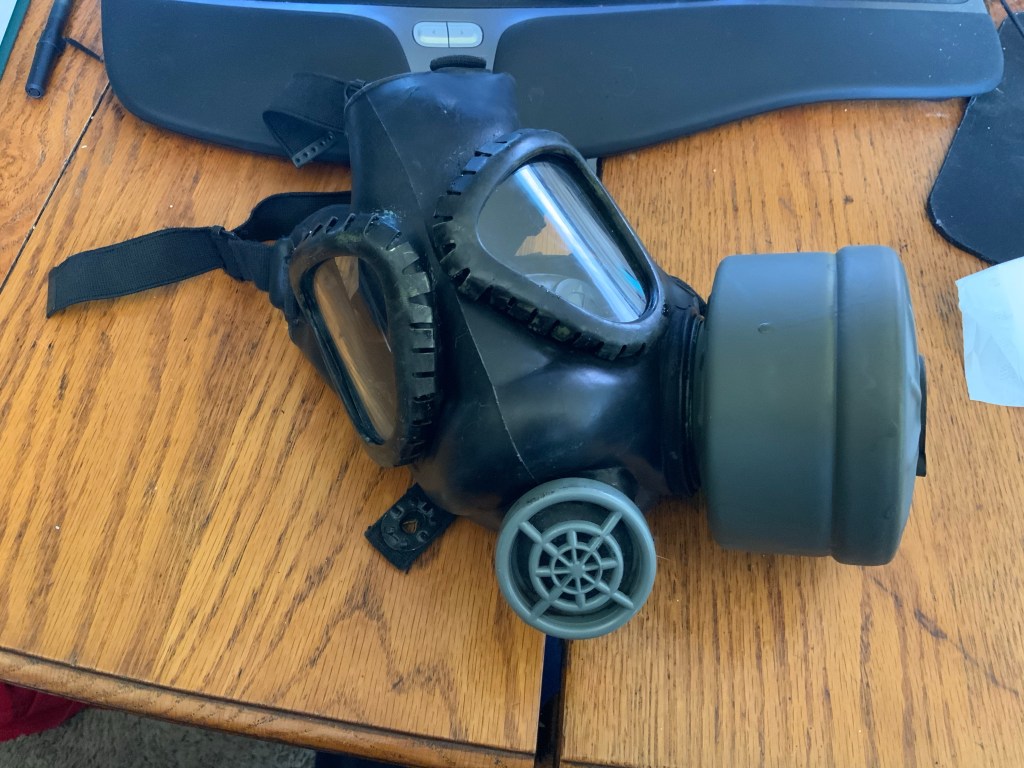
Overall, the project was a bit easier than I anticipated and I’m quite happy with the results. While some of the original masks had grey straps, there are some examples of the all-black straps that come with the Serbian mask.
I’m planning on recreating the contents of the bag and painting the filter, so stay tuned to this page for future updates.
